Overview
Improving and streamlining my blogging workflow has been on my TODO list for a while now, and since migrating to Hugo, I have gotten the kick I needed.
After setting up my blog using Hugo, I posted about the migration process and the steps involved in moving from WordPress to Hugo. My current blogging workflow is manual; to publish a new post, I create a markdown file in the project directory and run the hugo command. This builds the site by combining the Markdown content with HTML templates and outputs a set of static HTML files in the public directory—ready to be served by any standard web server. After that, I copy the public folder using scp, and just like that, the new post was live.
It got me thinking about automating the deployment process of my blog using GitHub Actions, given that I already have a GitHub repository for the blog site.
What are GitHub Actions? How does a Github Action work?
GitHub Actions is a continuous integration and continuous delivery (CI/CD) platform. At the most basic level, it is a series of processes executed in response to an event in a GitHub repository called a “workflow,” defined in a text file (YAML) placed under the .github/workflows directory inside your project directory. A workflow consists of a set of “jobs” that can be executed in parallel, and each job consists of multiple “steps” executed sequentially.
name: Example Workflow

on:
  push:
    branches: [ main ]
  pull_request:
    branches: [ main ]

jobs:
  job1:
    name: Job 1
    runs-on: ubuntu-latest
    steps:
      - name: Step 1-1 - Checkout repository
        uses: actions/checkout@v4

      - name: Step 1-2 - Run a script
        run: echo "Hello from Job 1, Step 1-2!"

  job2:
    name: Job 2
    runs-on: ubuntu-latest
    needs: job1
    steps:
      - name: Step 2-1 - Run another script
        run: echo "Hello from Job 2, Step 2-1! Job 1 completed."
Why automate the deployment?
Today, creating or updating a post on the blog involves a manual and repetitive process:
Make changes locally.
Build the static site using the hugo command.
Copy the generated files from the public/ directory.
Transfer them to the remote server.
This Workflow is both time-consuming and prone to error. Given these limitations, why not automate the process to streamline content deployment and reduce friction?
Workflow
Starting to gather the various bits and pieces, we should first establish our desired Workflow as the final target we wish to achieve. The desired Workflow for this scenario would be:
- Working locally with our website files. (Try new features, add/update posts, etc.)
- When we feel happy with what we have done, commit the changes. (Or commit as many times as we feel necessary)
- Push changes to remote repository. (usually origin/master)
- Done. (Automatic deployment)
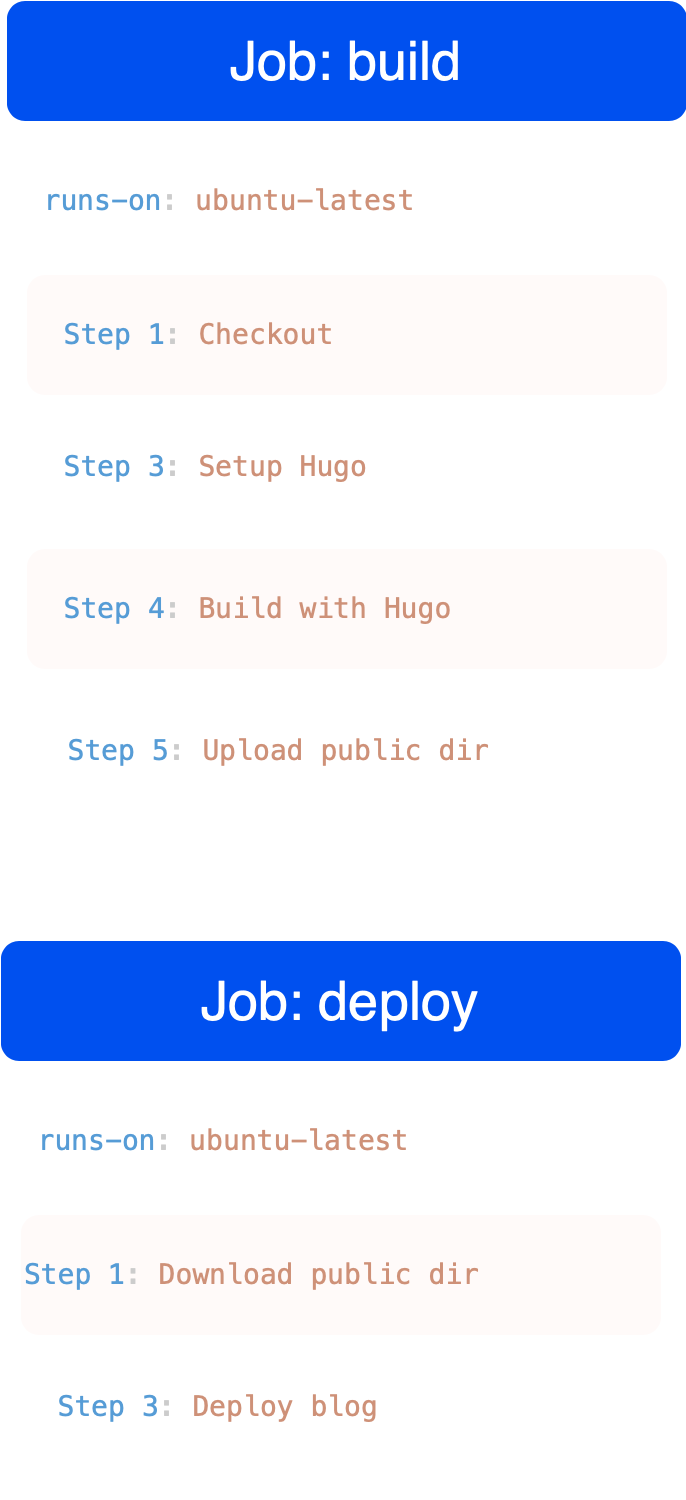
Build job
jobs:
    # Build job
    build:
        runs-on: ubuntu-latest
        concurrency:
          group: ${{github.workflow}} - ${{github.ref}}

        steps:

            - name: Checkout
              uses: actions/checkout@v4
              with:
                submodules: true
                fetch-depth: 0

            - name: Setup Hugo
              uses: peaceiris/actions-hugo@v3
              with:
                hugo-version: 'latest'
                extended: true

            - name: Build with Hugo
              run: hugo --minify

            - name: Upload public dir
              uses: actions/upload-artifact@v4
              with:
                name: public-artifact
                path: public/
The build job gathers and installs all dependencies for running hugo and generating the static assets. The content is generated in the directory called public. Finally, it uploads this directory to the artifacts of this workflow, so they can be accessed from the other jobs, in our case the deploy job.
Deploy job
    # Deploy job
    deploy:
        runs-on: ubuntu-latest
        needs: build

        steps:

            - name: Download public dir
              uses: actions/download-artifact@v4
              with:
                name: public-artifact
                path: public

            - name: Deploy blog
              uses: appleboy/scp-action@v0.1.7
              with:
                host: ${{ secrets.FTP_HOST }}
                username: ${{ secrets.FTP_USER }}
                key: ${{ secrets.KEY }}
                port: ${{ secrets.PORT }}
                source: "public/"
                target: ${{ secrets.TARGET_DIR }}
                strip_components: 1
This job consists of 2 simple steps. First, download the artifacts from the previous job and then upload them to Hostinger, using the account credentials has write permissions to this directory.
Conclusion
I’m really happy with how simple it was to set up this workflow using GitHub Actions. It only took a few hours to set up the blog, and now I have something simple and robust enough for me to write posts and iterate with little to no overhead. I’m looking forward to writing more posts, and I hope you’ll join me on this journey!
 https://orcid.org/0009-0004-1309-0540